After having achieved the ASA104 Bareboat Cruising and ASA105 Coastal Navigation certifications, honestly there was no particular hurry to move forward to complete more advanced courses such as the ASA106 Advanced Coastal Cruising, the Celestial Navigation, or the Offshore Passagemaking courses. The key thing was for me to get out in the sea and just get lots of practice in— more practice docking, anchoring, racing, and starting to test the waters on multi-day cruising.
The ASA106 Advanced Coastal Cruising certification is the course which is recommended for people who anticipate owning a boat in the near future. In this course you learn more about the finer points of sail trim, engine maintenance and water & fuel planning, heavy weather sailing and techniques, and, most importantly, night sailing. The ability to come into a port at night is the key skill that the ASA 106 teaches above all others.
So whereas I did not have any urgent need to take the advanced training, and on the contrary I thought that I would be better served by waiting to take the course at a time where I had much more sailing experience under my belt, I decided to take the course early anyway. The main motivation was that I originally thought that my wife and I would be moving out of the country, and so I wanted to get this last course in before I went abroad where the ASA curriculum was not taught. Since then our travel plans changed, but I figured that I should go ahead and keep to the plan, So that if our plans do change suddenly, I will have gotten this last bit of training out of the way.
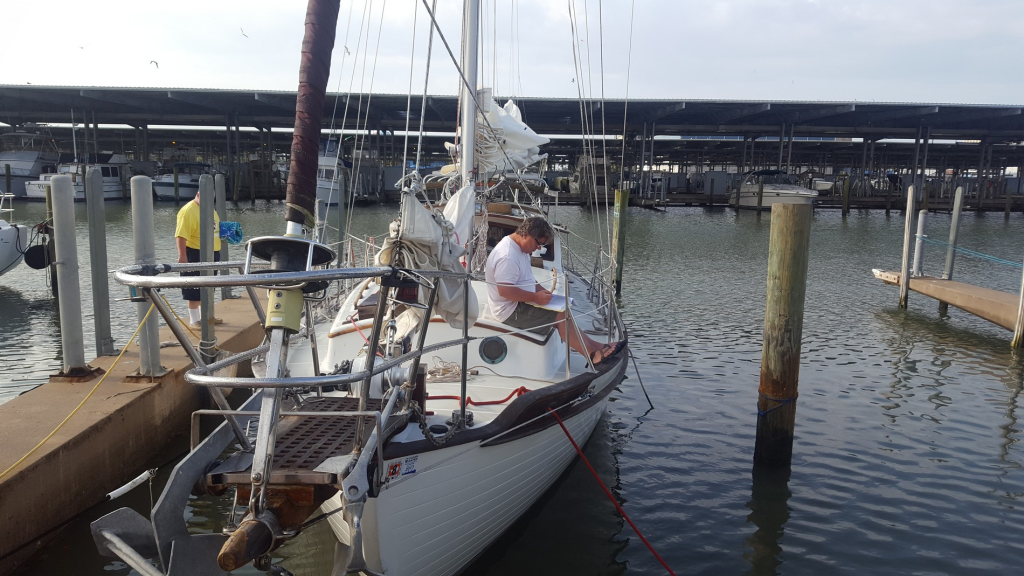
The course actually starts in Galveston, Texas. The students and instructor initially met at the Bay Area Sailing School in Seabrook, but after a short introduction we all piled in our cars and drove down to the Galveston Yacht Basin, where the boat was docked. The course is a 3-day, 2-night course with a practical portion which involves coming into the port after nightfall.
As far as provisioning was concerned, there was a lot less coordination on this trip than in my previous experience. Here, all 3 students were instructed to simply go get enough provisions for 3 lunches and one dinner, independently. And since none of the other students seemed to be interested in coordinating our meal planning and provisioning, I went ahead and bought enough for myself. It turned out that group provisioning would have been a better idea, as there was not enough space in the cold storage to fit everbody’s provisions. So that is a good lesson for future multi-day cruises.
By the time we all made it to Galveston and boarded the boat with our provisions, it was just a little before 12 noon. Before heading out, we discussed weather conditions and decided it was best to try and get the big bulk of heavy sailing and practical instruction done the first day, as the weather threatened to deteriorate the following day. This meant sailing in the Gulf of Mexico until sunset, then starting our way back to the marina after the sun went down.
So after having a quick lunch, we threw off the dock lines and headed out under power.
Hoisting the sails single-handed
There is a 1-2 hour course to get to the end of the channel and into the Gulf of Mexico from the Galveston Yacht Basin, assuming a Cruising speed while motoring of 5-6 knots. Before getting into the channel, the instructor had us hoist the mainsail, so that we could motorsail alongside the channel. We later learned that this was also because hoisting sails in the rougher open seas is a lot more challenging than int he calmer, protected waters of the bay.
So in a protected anchorage area just outside of the marina, we prepared to hoist the sails. The instructor showed us a technique we can use to hoist the sails up if single-handed– cut the helm hard over to one side, lock the helm in place, and allow the boat to move in a tight circle under a slow motor. With the boat moving slowly in a circle, you can then move forward to hoist the sails up calmly. Since the mainsail needs to be hoisted when pointing into the wind, you time the moments to haul on the mainsail halyard, so that you hoist up the sail at the times that the boat is pointing into the wind. Of course since we were a crew of 4, there was no need to do this, but it was good instruction nonetheless
Inside or outside the channel?
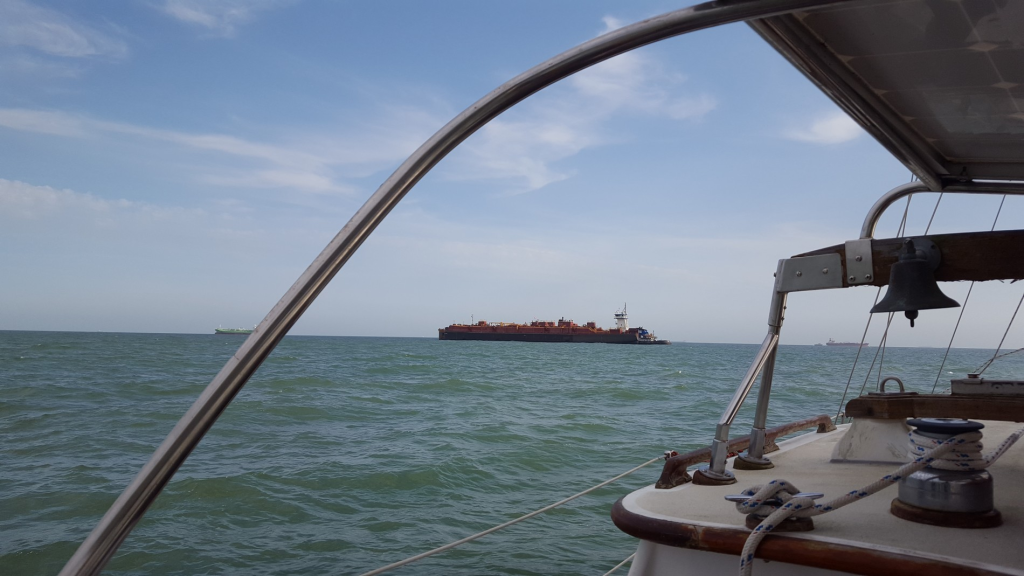
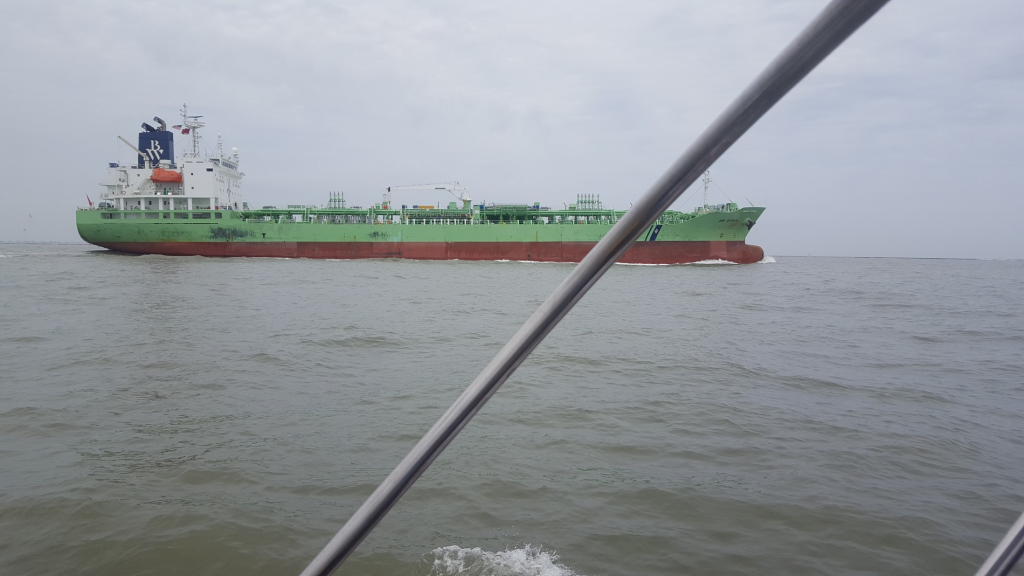
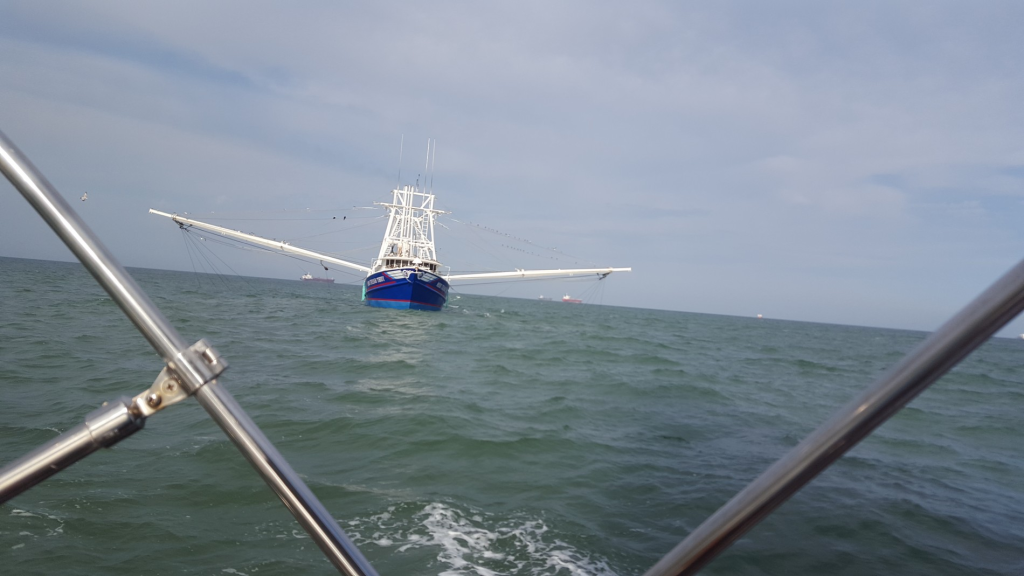
The Houston Ship Channel is one of the busiest ports in the United States. And this was evident when looking at the nonstop traffic both entering and leaving Houston via the channel. Since the large commercial vessels transiting the channel move at about 5 times the speed of your average cruising sailboat under auxiliary power, a prudent sailor would prefer to stay out the Houston Ship Channel as long as it is safe to do so. So when planning a trip exiting or entering a port, it is good practice to examine the nautical charts closely to determine if the boat can safely cruise outside of the channel, by seeing if the depth on either side is sufficiently deep to allow for the boat’s total draft. If there is sufficient space outside of the channel, cruising just outside of the channel markers can be a good risk mitigation strategy.
So we set our course moving from channel marker to channel marker, always leaving the marker so as to remain on the outside of the channel.
Motoring out to the Gulf of Mexico is a somewhat uneventful affair, the main distraction being rubbernecking as all of the various commercial freighters and vessels pass us on their inbound or outbound routes in the Houston Ship Channel.
The Cutter Rig’s Sail Plan
Once we made it out to the Gulf, we then quickly left the channel and hoisted the remaining sails.
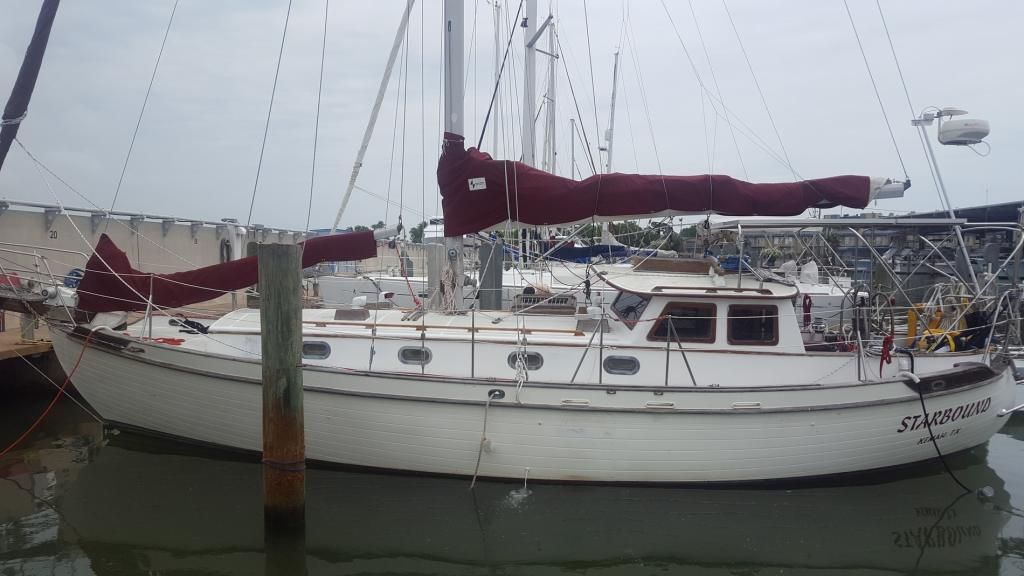
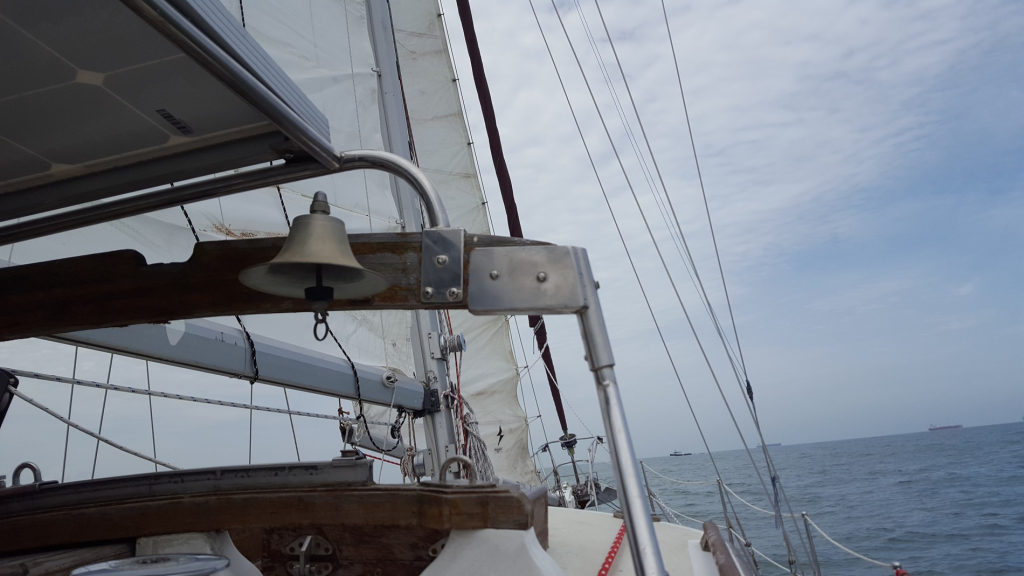
Starbound is a Tayana 37 sailboat, with its sail plan configuration being a Cutter rig. A Cutter rig is very similar to a Sloop rig (headsail/jib and a mainsail), with the addition of a third sail called a “staysail”, inserted between the mainsail and the jib. So that is 3 sails total under normal sail. The staysail is hanked on to the headstay, and the jib is set on a roller furler, its base being connected to the tip of the boat’s bow spirit.
This was my first experience on a cutter rig, and we learned that you set the sails up in this order: first the mainsail, then the staysail, and last, the jib. You would think that one more sail means one more thing to worry about, but in fact the staysail is self-tending, so most of the time you don’t worry about adjusting the staysail’s position. The biggest problem that we saw with the cutter rig, is that with the extra sail in the middle, the jib has an extremely difficult time moving from one side of the boat to the other during the tacking maneuver. So much so that it often gets tangled and requires a crew member to go forward to untangle ad allow the jib to ove to the other side.
Passing the day sailing away
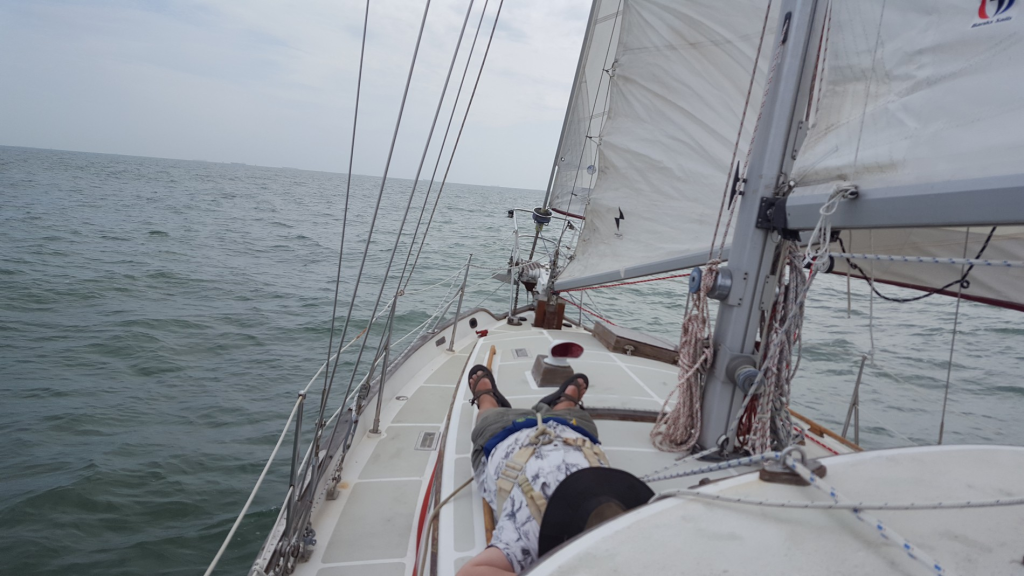
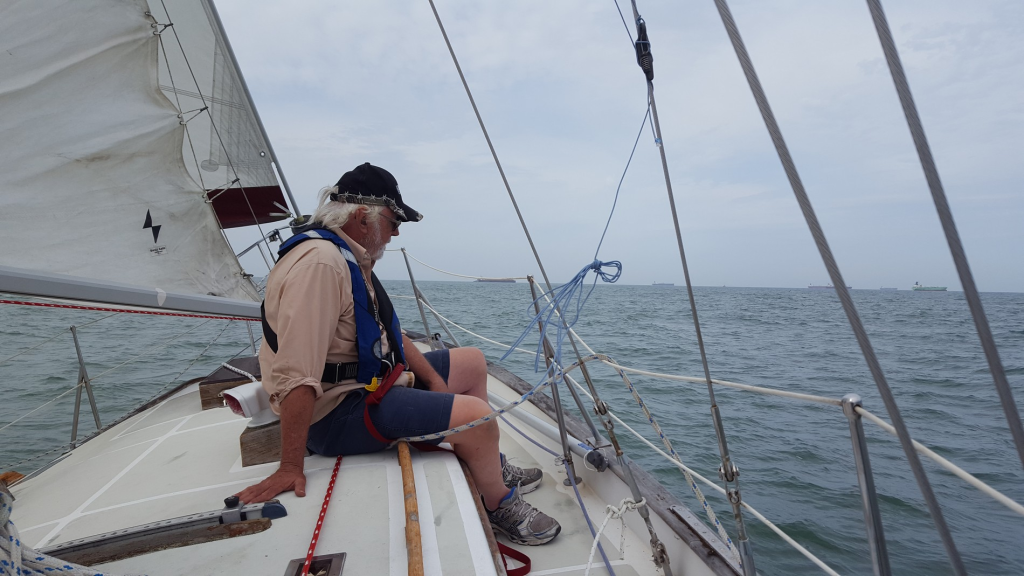
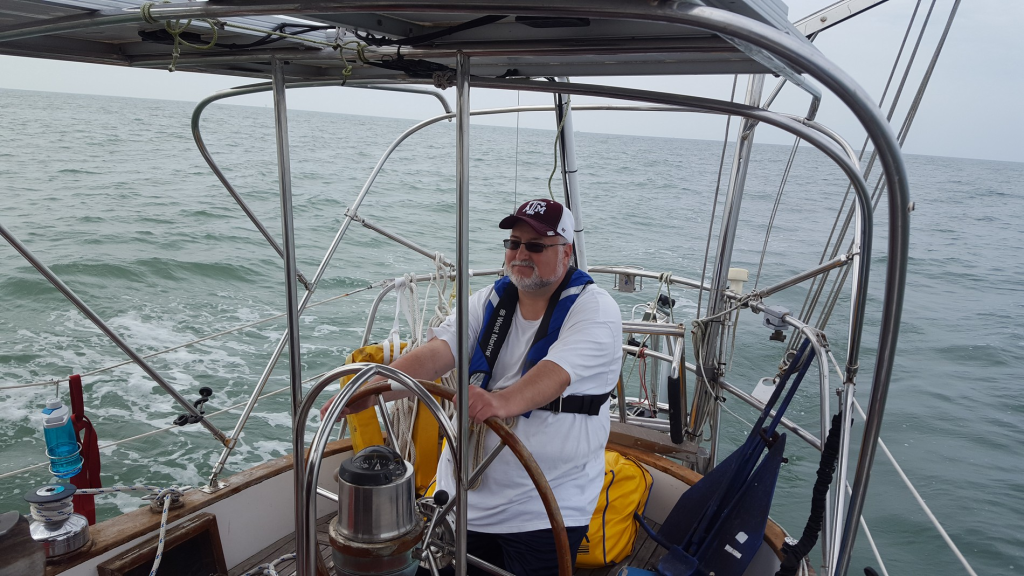
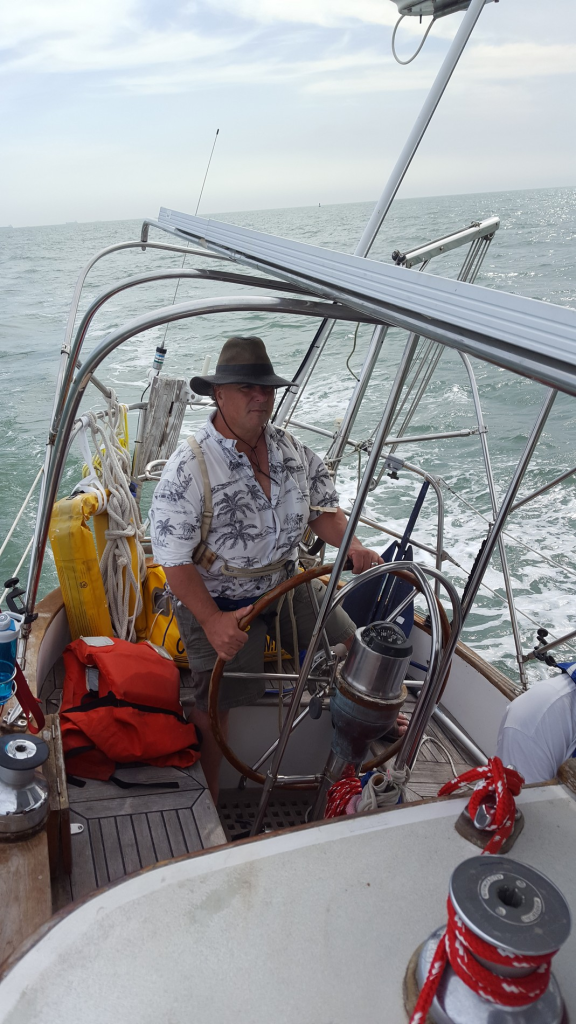
With all three sails hoisted up, we needed to pass the time until nightfall. So each of us students took a turn at the helm. It was more of a ‘set course and steer’ than an exercise with lots of tack and jibe maneuvering. We had amazing weather, which was probably about right given the early May timing of the course. Just enough wind to pick up speed with a comfortable heel angle, without being overpowered and difficult to maintain heading. I was the last to take control of the helm, and so when 1800 on the clock arrived, I was the one to start us back on our journey back to the marina.
Dealing with Engine Trouble
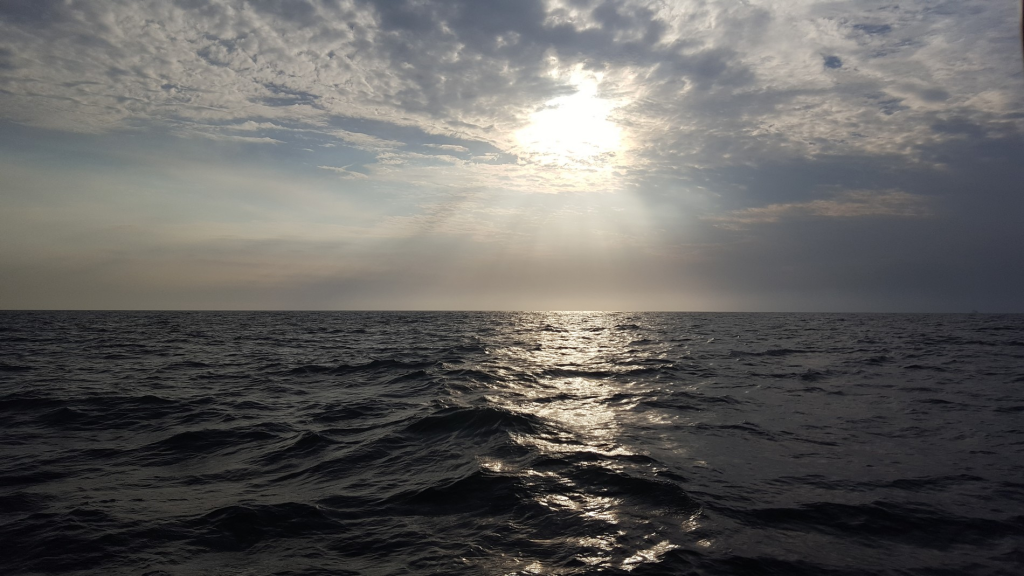
To get back to the marina, the plan was to drop all sails, fire up the engine, and motor on in through sunset into the night. So after all 3 sails were doused, I turned us back to the channel and we began our return journey around sunset. After 5-10 minutes though, after the captain suggested we slow down a bit, the engine died completely on us. Normally on a sailboat this is not a huge disaster, because we can always hoist the sails back up and sail our way in as long as there is some wind. But to attempt to get all the way back to the marina in Galveston under wind power alone, at night, and avoid collisions and slowing down traffic lanes, would be extremely difficult and risky.
So the first order of business was to make sure we were out of the channel, and attempt to get the mainsail hoisted back up. In the meantime, the instructor would do some engine troubleshooting and see if he could get the engine going again.
Well, us students learned a painful lesson firsthand, on the importance of hoisting the mainsail while pointing directly into the wind. Starbound had “lazyjacks” installed, which are lines rigged for the mainsail so that when you drop the sail it flakes neatly between the lazyjack lines. This is normally a great thing, but in our case, the lazyjacks made it close to impossible to hoist the sails up if you were not pointing exactly directly into the wind. As soon as the boat veered slightly off the wind, the sail ballooned out past the lazyjacks and got stuck, in a position making it impossible to get the sail fully raised.
Since after a few minutes we had stopped, it was now not possible to point the boat into the wind. We struggled for 15-20 minutes or so to find the right time where the waves rocked the boat far to one side, where we had some slack and could try to force the sails up. But none of that worked. So it was a good thing that eventually the instructor managed to get the engine started and running again (In fact the next day we began to wonder if the engine “failure” was actually a part of the instructor’s curriculum). With the engine running again, we decided to hoist the mainsail up so that we could motorsail in at night. The idea was that if the engine were to give out again, we would still have a bit of sailpower available to keep us moving and get us closer to the marina.
Channel By Night
After the engine failure drama was sorted out, the sun had dropped significantly enough that true nighttime was imminent. So now we would have a chance to experience bringing in the boat back to the marina when it was dark. In order to do this safely, the trick is to do a bit of nautical chart work before heading out for the day. The same red & green buoys which are easy to spot during the day to establish the borders of the channel, become difficult to decipher from all of the other buoy and commercial vessel lights at night. So for each buoy along the channel, you note down the following:
- Light characteristics: The color and flashing characteristic– for example, green, quick flashing, or red, flashing at 4 second interval.
- Course to next buoy: Assuming an inbound journey, what is the magnetic course to steer in order to reach the next buoy in the channel.
With the above details noted down ahead of time, you are then equipped to navigate the channel all the way back to the dock.
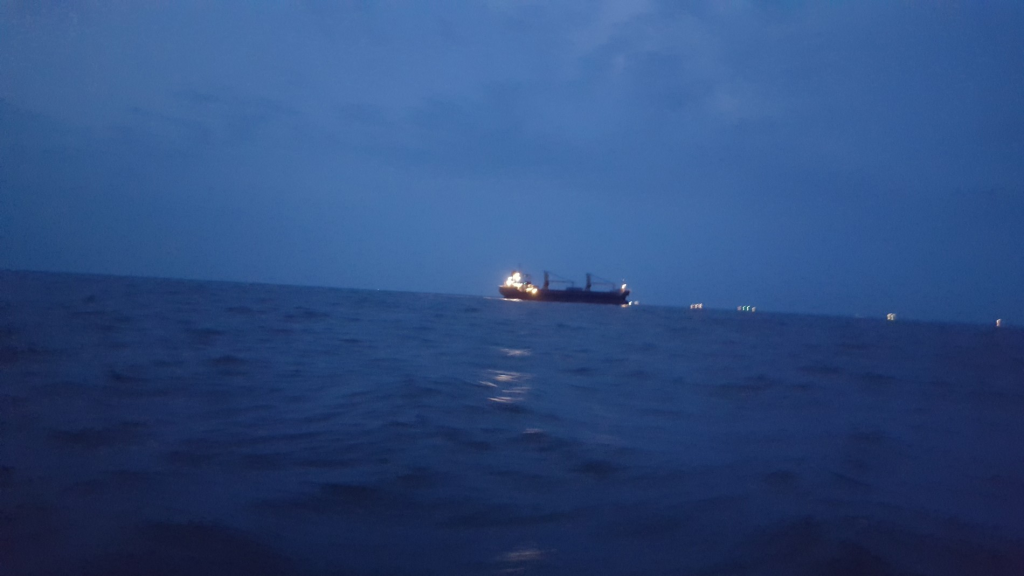
Knowing what to look for, though, and being able to spot it and maintain a steady compass course in the dark is a lot more challenging than I imagined. For starters, with the mainsail up, a lot of the view from the helm is obscured. So the helmsman is extremely dependent on the crew as spotters to keep track of that next channel marker light, and to make sure the helmsman knows in what direction to point. To make things worse, depth perception is extremely difficult when all you see are lights in the distance. Example: a green buoy which seem to be 1.5 miles out, seemed to jump to 1/4 mile off when a passing large freighter provided a close dark background for it. So it takes multiple eyes and vigilance to make sure the next target remains in sight and is indeed correctly identified.
And the stakes are high, especially in the beginning of the entrance to the channel– there is a long jetty whose end is marked with a green flashing beacon. And you definitely don’t want to confuse the channel marker for the jetty marker and sail straight towards it. But between the three students, and the captain reading off to us the upcoming channel marker’s flashing characteristics and course, we managed to make it back to the dock without too much trouble. Once we settled in, the captain confessed that he was also keeping track of our position using his smartphone GPS…but that was like belt and suspenders. For us students, it was a good accomplishment to have made it back in at night, without the assistance of digital positioning systems.
After we got all tied up at the dock, a few of us had a small bite to eat, and all of us passed out until morning. That was just under 12 hours at sea.
Exam Day
Since the weather was threatening to worsen towards the end of the day, our instructor decided to make it an easy day. We took our time getting breakfast at a local diner, then back on the boat he started to review a few points which would be good to re-hash prior to the written exam.
The exam itself was quite long– I think about 50 questions, no multiple choice but all essay or fill-in-the-blank style. All of us managed to do quite well though, so although it was long and painful, it was not wasted effort.
We then had a “free” evening to go to a restaurant or bar and just unwind for a bit before coming back to the boat to sleep.
Last Day: Anchoring, Reefing, and Wrapping it up
With the exam out of the way, the last day was an opportunity for us to get instruction and practice on whatever skills we wanted help with. One of us wanted more practice anchoring, and I wanted to go through the process of reefing the mainsail, which I had never done myself and involves shorting the amount of sail to help maintain control in heavy winds or heavy weather.
Light Repairs
Before we headed out though, we decided to go around the boat doing small repairs. While we were out the first day, at least one spare halyard line became loose and was quite difficult to recover, and a shackle’s pin came loose while under sail. Well, it turned out that the shackle was the one attaching the mainsail’s tack to the gooseneck, so that was a critical item to address. The other key thing for us to do, was to secure the shackles with wire lashings, to prevent them from coming undone as they had done while under way. So armed with a spool of lashing wire, a pair of wire cutters and pliers, and some spare shackles, we went around making the necessary fixes. This part I enjoyed somewhat, because it was a very clear illustration as to why such maintenance is required. John Rousmanier’s book The Annapolis Book of Seamanship goes over all of these maintenance tasks in great length, but when reading it sounded like a bunch of “required” maintenance that sailors actually never do. So to see the shackle connections lost at sea, and the halyard lines swinging out of control, and all of that due to unsecured shackle connections, that really hammered home the importance of the regular maintenance to the safety of the boat and the crew.
Anchoring and Light Wind Sailing
With the biggest problem areas taken care of, we then headed out for the anchoring practice. I actually wouldn’t have minded getting a shot at managing the anchoring, but the exercise took so much time with the first student that I decided to worry about getting anchoring practice in at a later time. After the anchoring practice was over, the instructor needed time to grade our exams, so in the very light morning wind we hoisted up all 3 sails and did our best to sail around the anchorage site. This was not really a very exciting or fun sail, because first of all the wind was extremely light, and secondly by the time we managed to get up a decent amount of headway it was time to change course via either a tack or a jibe. But we did it anyway for as long as required to to allow for the grading to be complete. He actually gave us a good compliment, that it is not very difficult to sail a boat in good winds, but it is a good show of seamanship skills to keep the boat moving in light wind. After the papers were all graded, we dropped sails and headed back to the the dock for the final practical lesson on reefing.
Docking and the Importance of the Spring Lines
There is one thing that I failed to mention earlier, about coming back to the slip and tying up. In all of my sailing, eduction, and chartering experience at the Bay Area Sailing School, I don’t recall seeing anybody use what is referred to as a spring line during the docking process. You typically have four dock lines rigged up– two on either side of the bow and two on either side of the stern. Spring lines are lines that attach at the middle of the boat, on either side. The instructor explained to me that the spring line was the most important line to tie up to the boat first, as the boat comes into the slip. Once the spring line is attached, the boat is considered to be under control, forward progress halted or slowed, and the remaining docking lines can then be taken care of calmly.
The strategy that the captain used was to establish docking positions for the crew early, explain to each crew member where they should be when leaving or entering the slip, and what they are expected to do when leaving and arriving. My position was to man the spring lines. Since we were leaving the dock lines at the dock, my instructions were to man the boat hook, and as we come in to the slip, grab onto a dock line as quickly as possible, and cleat off the line at the cleat at the middle of the boat. I wasn’t so quick about it the first time, but by the last day I had the spring line hooked and attached in no time. And indeed, we were very much able to calmly attend to the other lines with that spring line firmly secured.
Retrieving submerged lines with a weighed line
Each slip in the uncovered slips of the Galveston Yacht Basin fits two boats, with wooden piling in between for the dock lines. This means that when leaving the slip, one side of the boat was next to a dock/pier, which left plenty of room to drop the dock lines. But the other side of the boat had lines secured to pilings in the water, with only a solitary nail on each piling to hang the dock lines on, for those with excellent lasso skills. All of this to say that a lot of the times when the lasso missed the nail, the line just drops unceremoniously into the water and sinks. This makes it tricky, after the boat is back in the slip, to retrieve these submerged lines for securing on deck. It turns out that there is a pretty slick way to go about it: use a rope with a heavy weight attached to the end!
I think you probably need to see it for yourself to get it, but in short the technique is to throw the weighted line way past where the line is submerged, wait for a few seconds to allow the weight to sink to the bottom, and them slowly drag the line back to the boat. If all goes well, the weight will end up snagging the submerged line on its way up, and then you can make the final few feet with the help of a boat hook. Pretty neat trick!
A final reef for the road
This being the final day, and with one of us students with a long 3-hour trip back home to look forward to, we decided to practice reefing in the slip, as the last practice of the course. The reason I was so keen to get experience putting in reefs to the mainsail is that it is one of the most important tactics to employ in order to maintain control of the boat in strong winds or otherwise heavy weather conditions.
If I learned only one thing about reefing that day, it was that you had better for damn sure install all reefing lines BEFORE you start underway. On the Starbound, the first reef points were already in place but the second reef points still needed to have the reefing lines put in. This actually made for good practice and instruction, because most students learn to reef with all lines already ready to go.
The process to reef when the reefing lines are pre-installed is quite straightforward. Simply drop the mainsail until you reach the first reef point, where you will find a large cringle (reinforced hole along the leading edge of the sail). Attach the cringle to the gooseneck, tighten up the mainsail halyard line and cleat it off, and then pull the reef line tight to secure the reef.
On the instructor’s boat though, the second reef points did not have any reefing lines rigged. So we had an opportunity to see how to set up reefing lines on a sail. The reefing lines at the first reef point were already rigged, and they were set up so that you could tighten up the reef lines from the cockpit. In other words, to tighten and secure the reef, all you had to do was pull on the reefing line towards the back of the boat. So if you ran the reefing lines far back enough, you could secure the reef from the cockpit.
For the lines that we were to install at the second reef point, they would be a much simpler type– just a length of line knotted on one side, threaded through the reef eye to the other side, then a bowline knot on the other side. With this simple rigging, you could quickly tie the knotted end through the bowline’s loop and yank to tie it down. Traditionally you would just secure the reefing lines with reef knots (square knots), but the instructor told us that he prefers to have one end looped to make it simpler to tie down. Add I must agree– I can see how if your crew is not experienced, trusting them to put in a proper square knot can be dicey — better to have a knot than anybody can figure out how to get secured, especially since the reef may need to be secured on a boat which is being battered by heavy weather conditions.
So that’s it!
All of us students passed the practical and the written exam, and so that meant that all three of us would be getting our ASA106 certification. All that was left was for us to pack up all of our gear, haul off the remainder of the trash, and bid everybody farewell.
Not much left for me now in the realm of more training…time to get out there and sail away!
Click here to see additional pictures from the excursion (ask Joel for the password).